Ansible Container can manage the lifecycle of an application from development through cloud deployment. To demonstrate, we’ll create, test and deploy a new social media application called Not Google Plus.
The application comes from a tutorial, but not to worry, this isn’t a programming exercise. Instead, we’ll focus on how to use Ansible Container at each phase.
Requirements
Before continuing, you’ll need a couple of things:
- A Linux or OSX environment
- Ansible Container installed from source. See our Running from source guide for assistance. Be sure to install docker engine support, and openshift engine support.
- Docker Engine or Docker for Mac. See Docker Installation for assistance.
- Ansible 2.3+
Getting Started
Ansible Container uses Ansible roles to build images, initialize projects, and add services to existing projects. You can find roles contributed and maintained by the community at Ansible Galaxy.
Keep in mind, there are three different types of roles. There are standard roles that simply execute tasks, which we can use with Ansible Container to build images. Container App roles can be used to initialize an Ansible Container project, and Container Enabled roles define a service that can be added to an existing project.
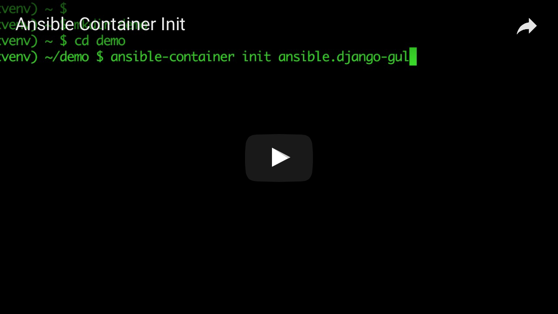
To initialize our project we’ll use the Container App role, ansible.django-gulp-nginx. We’ll start by creating an empty project directory, setting the new directory as the working directory, and then running the init command to copy the full contents of the role into the directory. This particular role will give us a fully functioning Django framework.
Go ahead and initialize a new project called demo by opening a terminal session, and executing the following commands:
# Create an empty directory called 'demo'
$ mkdir demo

# Set the working directory to demo
$ cd demo

# Initialize the project
$ ansible-container init ansible.django-gulp-nginx
The following video shows the project init steps:
You now have a copy of the ansible.django-gulp-nginx framework project in your demo directory. Among the files added to the directory, you’ll find a container.yml file describing the services that make up the application, a roles directory containing custom roles used to services, and all the supporting source files that make up the framework project.
Build the Images
The container.yml file defines four services: django, gulp, nginx, and postgresql. Before we can use the services, and begin application development, we need to build the images. Start the build process by running the following command:
# Set the working directory to demo
$ cd demo

# Start the image build process
$ ansible-container build
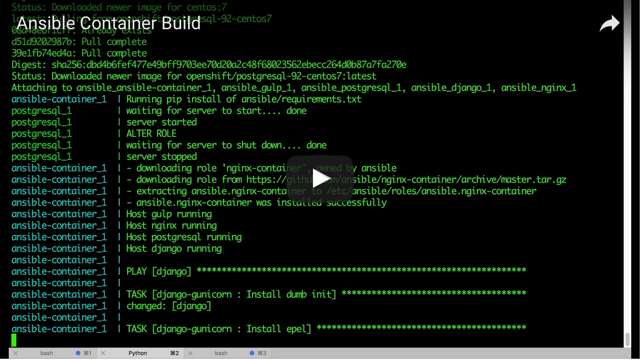
For each service that has a set of roles in container.yml, the process executes the roles to build the service. It does this by starting the Conductor container, and starting a container for the service. It then executes the Ansible roles one at time. For each role, it generates a playbook to execute the role. It runs the playbook on the Conductor container, and executes role tasks against the service container.
After each role finishes, a snapshot is taken of the service container, and committed as a new image layer. Together, the complete set of layers forms the image for the service.
When the build completes, run the docker images command to view a list of local images. The output will include the following images:
# View the images
$ docker images

demo-django          20170613005625      32819eb0ae21        2 hours ago         428 MB
demo-django          latest              32819eb0ae21        2 hours ago         428 MB
demo-nginx           20170613001807      de4e2b36cc13        2 hours ago         272 MB
demo-nginx           latest              de4e2b36cc13        2 hours ago         272 MB
demo-gulp            20170613001455      9dca2dd36ab0        2 hours ago         670 MB
demo-gulp            latest              9dca2dd36ab0        2 hours ago         670 MB
demo-conductor       latest              6583f1d349aa        2 hours ago         550 MB
centos               7                   3bee3060bfc8        7 days ago          193 MB
ansible/postgresql   latest              d1c4b61b9fde        5 months ago        396 MB
Run the Application
Now that you have the application images built in your environment, start the application by running the following:
# Start the application
$ ansible-container run
The containers are now running in the background. The gulp service proxies requests to the django service. But before it can be accessed, it first has to install node and bower packages required by the frontend, and then start the web server.
Check its progress by running the following to watch the service’s log output:
# Tail the log for the gulp service
$ docker logs -f demo_gulp_1
Once you see the following in the log output, the web service is running and accessible:
[17:05:29] Starting 'js'...
[BS] Access URLs:
 -----------------------------------
       Local: http://localhost:8080
    External: http://172.21.0.4:8080
 -----------------------------------
          UI: http://localhost:3001
 UI External: http://172.21.0.4:3001
 -----------------------------------
[BS] Serving files from: dist
[17:05:30] Finished 'lib' after 601 ms
[17:05:30] Finished 'html' after 574 ms
[17:05:30] Finished 'sass' after 644 ms
[17:05:30] Finished 'templates' after 685 ms
[17:05:30] Finished 'js' after 631 ms
To access the server, open a browser, and go to http://localhost:8080, where you’ll see the default “Hello World!” page.
Development vs Production
The containers are currently running in development mode, which means that for each service the dev_overrides directive takes precedence. For example, take a look at the gulp service definition found in container.yml:
gulp:
  from: 'centos:7'
  roles:
    - role: gulp-static
  working_dir: ''
  command: ['/bin/false']
  environment:
    NODE_HOME: ''
  dev_overrides:
    entrypoint: [/entrypoint.sh]
    command: [/usr/bin/dumb-init, /usr/local/bin/gulp]
    ports:
      - '8080:'
      - 3001:3001
    links:
      - django
    volumes:
      - '$PWD:'
  openshift:
    state: absent
In development, dev_overrides takes precedence, so the command /usr/bin/dumb-init /usr/local/bin/gulp will be executed, ports 8080 and 3001 will be exposed, and the container will be linked to the django service container.
The application can be started in production mode, by running ansible-container run --production. In production the dev_overrides directive is completely ignored, which means the /bin/false command is executed, causing the container to immediately stop. No ports are exposed, and the container is not linked to the django service.
Since the frontend tools provided by the gulp service are only needed during development and not during production, we use dev_overrides to manage when the container runs.
The same is true for the nginx service. Take a look at the service definition in container.yml, and you’ll notice it’s configured opposite of the gulp service:
nginx:
  from: 'centos:7'
  roles:
    - role: ansible.nginx-container
      ASSET_PATHS:
        - /tmp/dist
      PROXY: yes
      PROXY_PASS: 'http://django:8080'
      PROXY_LOCATION: "~* /(admin|api)"
  ports:
    - ':8000'
  links:
    - django
  dev_overrides:
    ports: []
    command: /bin/false
In development the nginx service runs the /bin/false command, and immediately exits. But in production, it starts the nginx process, and takes the place of the gulp service as the application’s web server.
Developing the Application
Let’s make some updates, and create the Not Google Plus app, and then we’ll see how to test and deploy it. To make the changes, run the following commands to download the source code, and update the project:
# Set the working directory to your *demo* folder
$ cd demo

# Stop the application
$ ansible-container stop

# Download and expand the source archive
$ curl -L https://github.com/ansible/ansible-container-demo/archive/0.2.0.tar.gz | tar -xzv

# Copy the frontend files
$ cp -R ansible-container-demo-0.2.0/src/* src

# Copy the Django files
$ cp -R ansible-container-demo-0.2.0/project/* project

# Restart the application
$ ansible-container run
Check the gulp service log using the docker logs -f demo_gulp_1 command, and once the web server is running, the
Not Google Plus application will be available. If you open your browser, and go to http://localhost:8080, you’ll see that the “Hello World!” page has been replaced by our social media site.
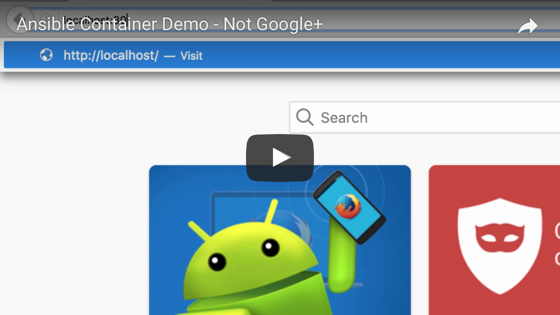
Tour the Site
Let’s check out Not Google Plus. Watch the video below, and follow along on your local site to register, log in, and create posts. Your site will be reachable at http://localhost:8080, and you can browse the API directly at http://localhost:8080/api/v1/.
Click the image below to watch a video tour of the site:
Testing
Now that you made changes to the application by adding the code for Not Google Plus, you’ll need to build a new set of images that contain the updated source code, before moving on to testing and deployment.
Run the following to stop the containers, and then start the build process. This time, use the --no-container-cache option on the build command to force the rebuild of each image, and insure that the new source code gets picked up.
# Stop the running containers
$ ansible-container stop

# Start the build process
$ ansible-container build --no-container-cache
Once the build process completes, take a look at the local images using docker images:
# View the images once again
$ docker images

REPOSITORY           TAG                 IMAGE ID            CREATED             SIZE
demo-nginx           20170613012958      b92a8065656e        About an hour ago   272 MB
demo-nginx           latest              b92a8065656e        About an hour ago   272 MB
demo-gulp            20170613012504      65da0dbb9941        About an hour ago   670 MB
demo-gulp            latest              65da0dbb9941        About an hour ago   670 MB
demo-django          20170613011928      70c3cce3a2b4        About an hour ago   428 MB
demo-django          latest              70c3cce3a2b4        About an hour ago   428 MB
demo-gulp            20170613010219      4da2ebf7007a        About an hour ago   668 MB
demo-django          20170613005625      32819eb0ae21        2 hours ago         428 MB
demo-nginx           20170613001807      de4e2b36cc13        2 hours ago         272 MB
demo-gulp            20170613001455      9dca2dd36ab0        2 hours ago         670 MB
demo-conductor       latest              6583f1d349aa        2 hours ago         550 MB
centos               7                   3bee3060bfc8        7 days ago          193 MB
ansible/postgresql   latest              d1c4b61b9fde        5 months ago        396 MB
There’s a new set of images containing the updated code. Now when you deploy the application to production, you’ll be deploying the Not Google Plus app.
For testing, we want the application in production mode, so that it runs exactly the same as it will when deployed to the cloud. As we pointed out earlier, when run in production the dev_overrides settings are ignored, which means we’ll see the gulp service stop and the nginx service start.
To start the application in production mode, run the following command:
# Start the application with the production option
$ ansible-container run --production
If we were running a CI/CD process, this is the point where we would run our automated testing scripts. In lieu of that, open a browser, and once again go to http://localhost:8080 to confirm the site is working as expected.
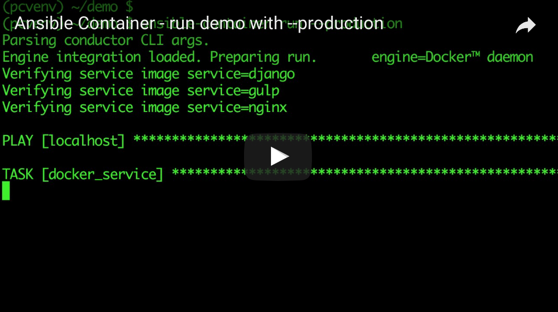
Click the image below to watch a video of the application starting with the --production option:
Deploy the application
Once the application passes testing, it’s time to deploy it. To demonstrate, we’ll create a local instance of OpenShift, and run the deploy command to push images and generate a deployment playbook.
Create a local OpenShift instance
To run the deployment, you’ll need access to an OpenShift instance. The Install and Configure Openshift guide at our doc site provides a how-to that will help you create a containerized instance.
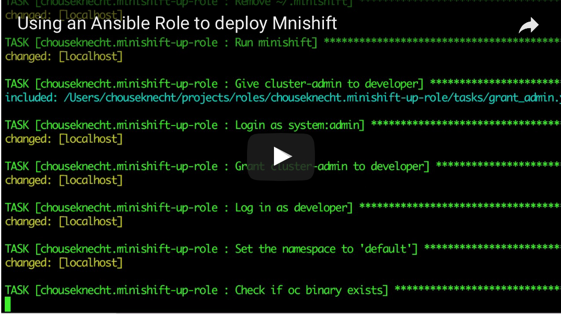
Minishift is a virtual machine that hosts a Docker daemon, and a containerized OpenShift cluster. The following demonstrates creating a minishift instance by running the Ansible role, chouseknecht.minishift-up-role:
To use the role, you’ll need Ansible installed. Also, note in the video that the playbook is copied from the installed role’s file structure. You’ll find the playbook, minishift-up.yml, in the files directory.
Create an OpenShift project
Now that you have an OpenShift instance, run the following to make sure you’re logged into the cluster as the developer user, and create a demo project:
# Verify that we're logged in as the *developer* user
$ oc whoami
developer

# Create a demo project
$ oc new-project demo
Note
When you run the
deploycommand, it will attempt to authenticate to the registry usingdocker login, which will check for an existing credential in${HOME}/.docker/config.json. If there is an existing entry in this file for the local OpenShift cluster, you’ll need to remove it, if the token has expired. Also, you’ll need to remove it if the entry points to a key store. Key stores cannot be accessed from within the Conductor container, where the authentication with the registry will actually take place.
The project name is defined in container.yml. Within the settings section, you will find a k8s_namespace directive that sets the name. The project name is arbitrary. However, before running the deploy command, the project must already exist, and the user you’re logged in as must have access to it.
The reason for creating the project first is because the deploy process will attempt to push images to the local registry using the project name as the namespace. If the project does not already exist, then the push will fail.
Run the deployment
Next, use the deploy command to push the project images to the local registry, and create the deployment playbook. For demonstration purposes, we’re referencing the local_openshift registry defined in container.yml. Depending on how you created the local OpenShift cluster, you may need to adjust the registry attributes.
One of the registry attributes is namespace. For OpenShift and K8s, the registry namespace should match the name value set in k8s_namespace within the settings section. In the case of OpenShift, the name in k8s_namespace will be the project name, and for K8s, it’s the Namespace.
Once you’re ready to push the images, run the following from the root of the demo project directory:
# Push the built images and generate the deployment playbook
$ ansible-container --engine openshift deploy --push-to local_openshift --username developer --password $(oc whoami -t)
The above will authenticate to the registry using the developer username, and a token generated by the oc whoami -t command. This presumes that your cluster has a developer account, and that you previously authenticated to the cluster with this account.
After pushing the images, a playbook is generated and written to the ansible-deployment directory. The name of the playbook will match the project name, and have a .yml extension. In this case, the name of the playbook will be demo.yml.
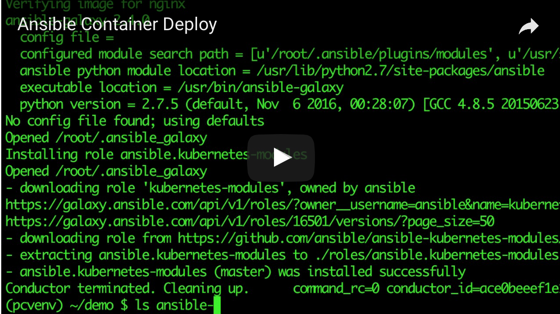
You will also find a roles directory containing the ansible.kubernetes-modules role. The deployment playbook relies on this role for access to the Ansible Kubernetes modules.
To deploy the application, execute the playbook, making sure to include the appropriate tag. Possible tags include: start, stop, restart, and destroy. To start the application, run the following:
# Run the deployment playbook
$ ansible-playbook ./ansible-deployment/demo.yml --tags start
Once the playbook completes, log into the OpenShift console to check the status of the deployment. From the Applications menu, choose Routes, and find the URL that points to the nginx service. Using this URL, you can access the appication running on the cluster.
Watch the following video to see the full deployment: